Driving a progress bar
Table of contents
Introduction
When using a controller as an input device, very often we have more actions than we have buttons on the controller. A common way to work around this problem is to map one action to a long press of a button instead of a short press. For example a quick press of the A button could be used to jump, while a long press of the A button could be used to do a big jump.
This is a great way to make use of the limited number of buttons on a controller. However, the player needs to know how long they have to hold the button down to trigger the action. Something that many games do is to show a progress bar that fills up while the button is pressed. So how can we do this?
Setup
First we need some actions. For this let’s create an action named Jump and another one named Somersault. Now we can map these actions in a mapping context like this:
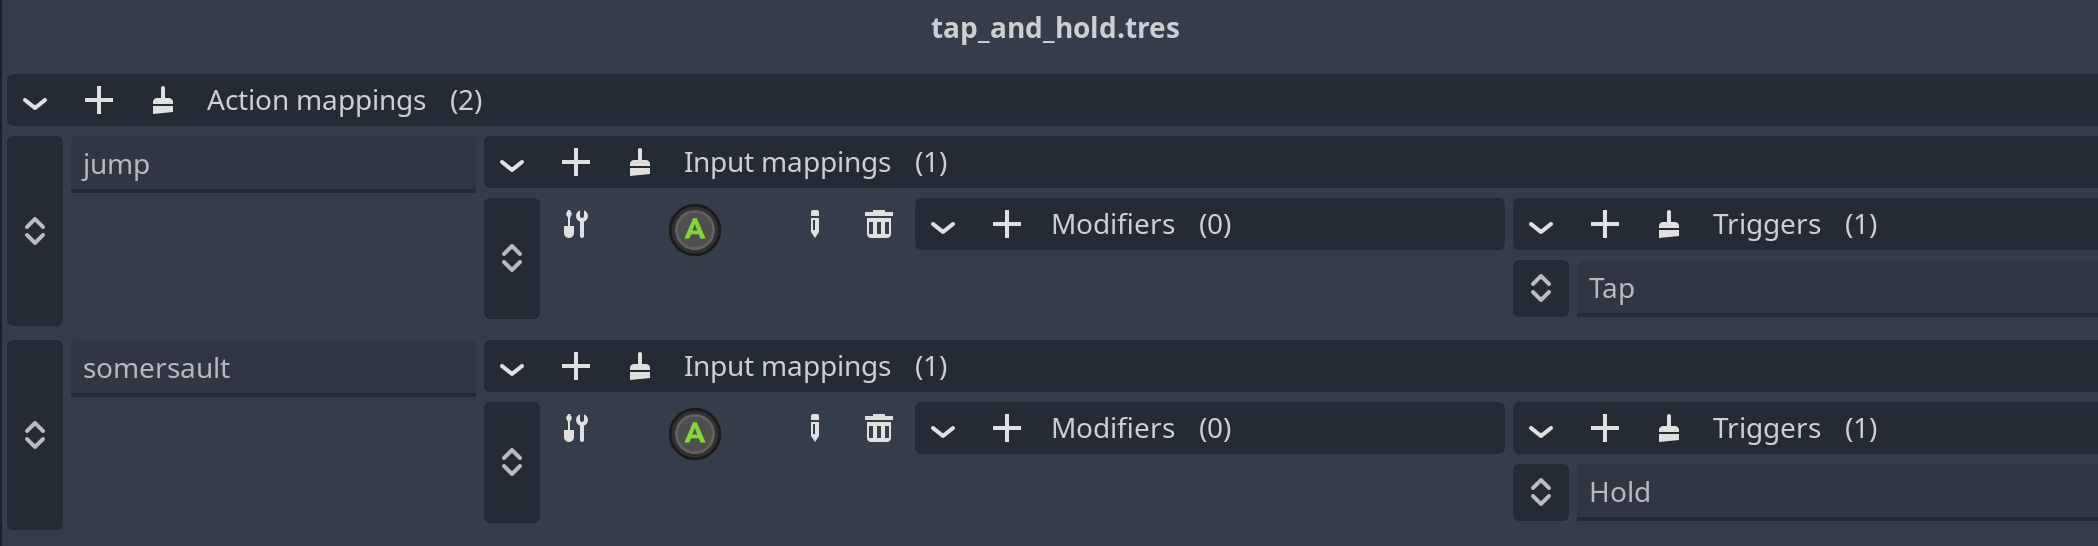
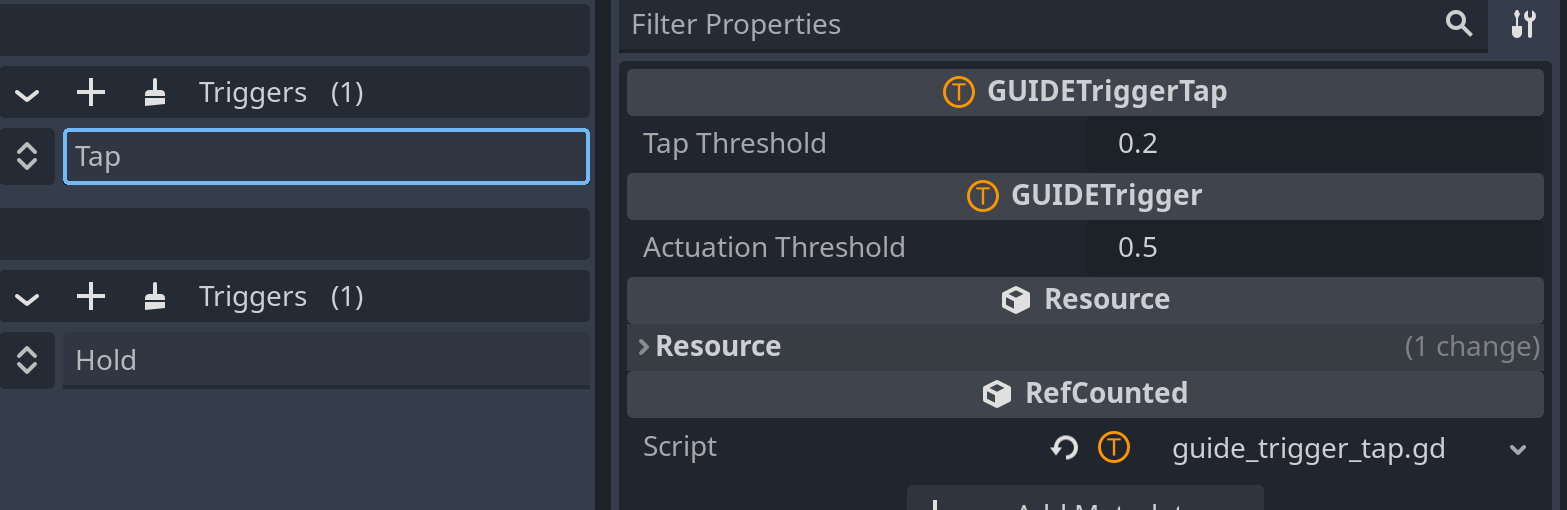
The Jump action uses a Tap trigger, so it will only fire when the player taps the button for less than 0.2 seconds.
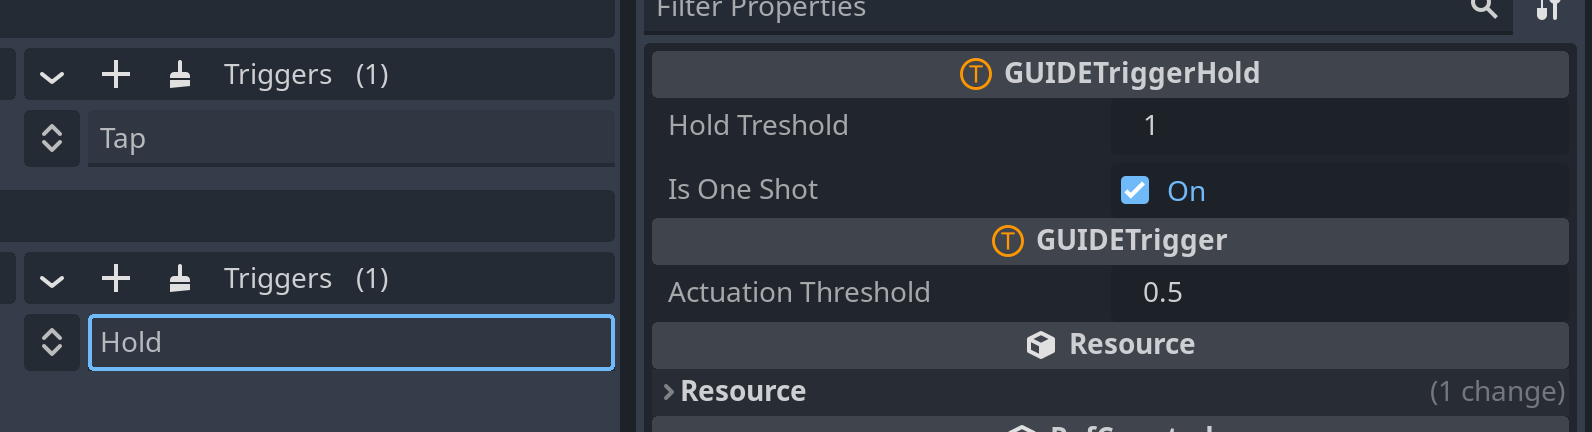
The Somersault action uses a Hold trigger, so it will only fire when the player holds the button for a full second. The hold trigger is also set to One Shot mode, so it will only fire once when the button is pressed.
By setting things up this way, we make sure that the actions are mutually exclusive. The player can either jump or do a somersault, but not both at the same time.
Triggering the actions
For simplicity we’ll just wire our two actions to an animation. We have a jump animation and a somersault animation, and whenever an action is triggered, we play the corresponding animation.
Now we can use the triggered signal on our actions to tell an animation player to play the corresponding animation.
# We get the actions as export variables so we can assign them in the editor.
@export var jump_action:GUIDEAction
@export var somersault_action:GUIDEAction

# And we get the animation player as an onready variable so we can use it in our code.
@onready var _animation_player:AnimationPlayer = $AnimationPlayer

func _ready():
    # Connect the triggered signal of the actions to our play function.
    jump_action.triggered.connect(_play.bind("jump"))
    somersault_action.triggered.connect(_play.bind("somersault"))

func _play(animation:String):
    # Play the animation on the animation player.
    _animation_player.play(animation)
Driving the progress bar
Now that is simple enough, but how do we show to our player how long they have to hold the button down? Let’s use a simple progress bar to our scene to show this:
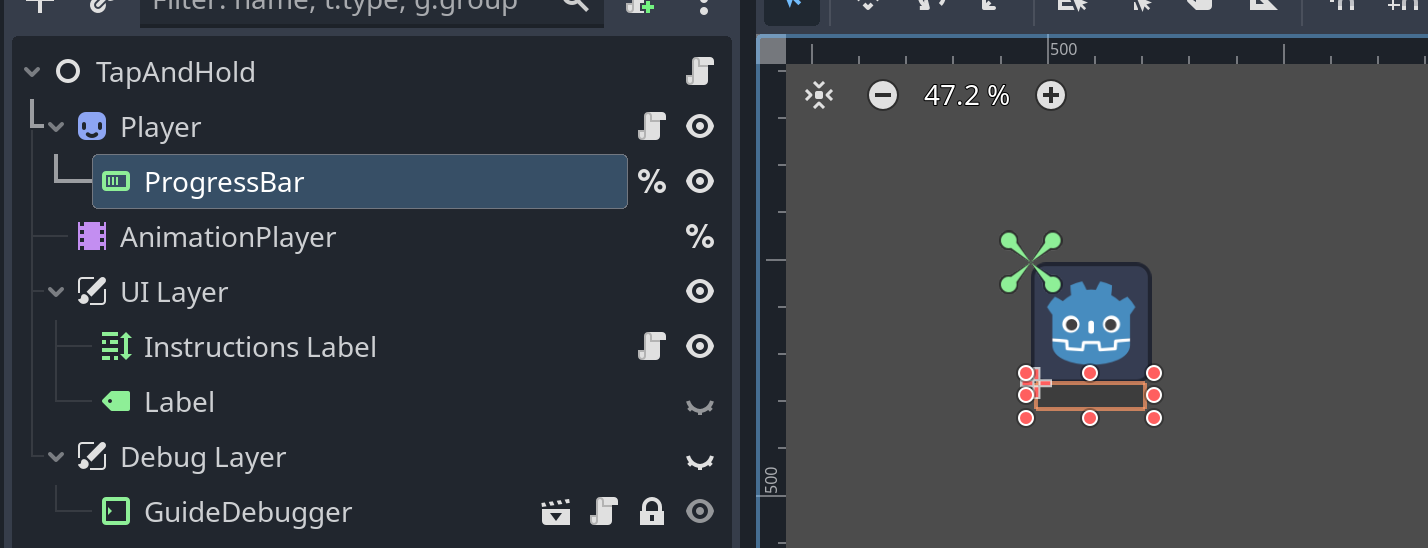
We can add an @onready variable to our script to get a reference to the progress bar node.
@onready var _progress_bar:ProgressBar = $ProgressBar
Now to actually drive the progress bar, we can use some properties of the action. Every GUIDEAction has some properties that give us timing information about the action. These properties are:
elapsed_seconds- This starts at 0 and counts up while the action is inONGOINGstate. So if our action is bound to a Hold trigger, this will count up while the button is pressed but the action was not yet triggered.triggered_seconds- This starts at 0 and counts up while the action is inTRIGGEREDstate.
Now elapsed_seconds is useful to show the progress bar but we need to know when the action is in ONGOING state. Fortunately GUIDEAction also has a signal for this. So we can connect to this in our ready function and update the progress bar accordingly. We also want to hide the progress bar when then action is triggered or cancelled, so we connect to the triggered and cancelled signals as well.
func _ready():
    ...
    somersault_action.ongoing.connect(_update_progress_bar)
    somersault_action.triggered.connect(_hide_progress_bar)
    somersault_action.cancelled.connect(_hide_progress_bar)

func _update_progress_bar():
    _progress_bar.value = somersault_action.elapsed_seconds
    _progress_bar.visible = true

func _hide_progress_bar():
    _progress_bar.visible = false
Now there is one little problem with this. By default the progress bar has a range of 0-100. So if we play this, our progress bar will only show a little bit of progress, because the elapsed_seconds property is in seconds.
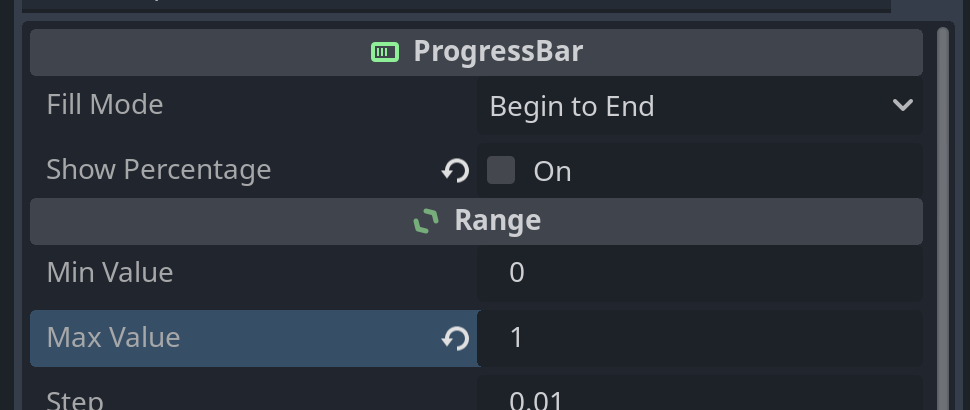
One way to fix this is to set the range of the progress bar to 0-1 instead of 0-100. This way the progress bar will fill up completely when the action is triggered.
This is better but it’s still not great because now we need to update the progress bar’s range every time we change the action’s hold time. Things like the hold time are usually changed quite often during playtesting to make the game feel just right. So we want to avoid having to change the progress bar’s range every time we do this.
We can fix this by using another property of the action:
elapsed_ratio- This is a value between 0 and 1 that represents the ratio of the elapsed time to the hold time. So if the action has a hold time of 1 second and the elapsed time is 0.5 seconds, this will be 0.5.
This is great for driving progress indicators as the range is always 0-1 no matter how long the hold time is. So all we need to do is set the progress bar’s value to the elapsed_ratio property of the action.
func _update_progress_bar():
    _progress_bar.value = somersault_action.elapsed_ratio
    ...
And now our progress bar works nicely!
Conclusion
In this recipe we learned how to use the elapsed_seconds and elapsed_ratio properties of a GUIDEAction to drive a progress bar. We also learned how to use the ongoing, triggered and cancelled signals to show and hide the progress bar. If you’d like to see this in action, you can check out the tap_and_hold example that inside of the guide_examples folder.